Showing posts with label how-to. Show all posts

Monday, June 20, 2011

Dear Matryoshka

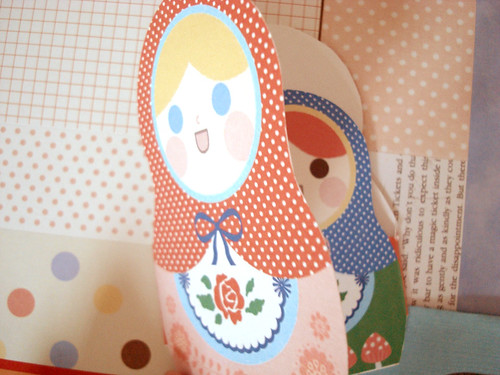
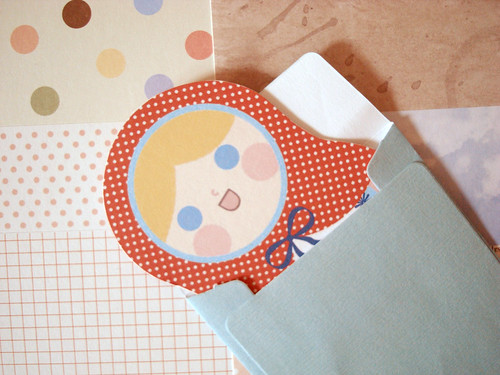
The whole world is probably smitten with this Russian lady, I mean, who wouldn't? I get a great feed back on this set of printable, thank you, and I think the matryoshkas haven't lost its charm. So, I got a lot of question regarding the "nesting" invitation. Here's how it actually look like when folded, ready to be sent.

You may want to cut all through the connecting matryoshkas. I let few inches between them for safety (so that you won't easily disconnect the 4 ladies) but if you like yours to be clean and you are very confident in your cutting skill, please welcome to snip clean between the matryoshkas.

Imagine the biggest matryoshka and the "patterned" silhouette beside her is a regular greetings card. Fold them the usual way you'd want to fold a card, it's a "mountain" fold. Do another mountain fold with the 2 smaller ladies and tuck both inside your "card".

Write any desirable messages inside, put it in an envelope, voila. Happy inviting/greeting. :)

Thursday, August 19, 2010

Vinyl Forever

Check out Ashley's crafty faux leather/ vinyl accessories tutorial. You just can't stop making them. I think I need a quick run to the material store now.

Also, I need your help. I have my word verification turned on, as you may have noticed, but I still get those advertisement comments which have adult contents. I really really want to stop those flooding into my blog, as, well, my blog is not restricted for adults only, and to be honest, we adults here don't talk about it here too. Any suggestions?

Monday, March 8, 2010

Pom Pom Delight

Lovely pompoms from Oncewed...(view the tutorial too)..Spring is coming and pom poms are the only things I had in mind...


I'm thinking of getting a plain ballerina flat and decorate them like these babies. Attachable pompoms! How adorable and practical too!

How to make your own pom pom, the easiest step by step guide from Oncewed.

ps. I was lamenting of how the new post editor was killing me and everyone keep assuring me that I only need to get used to it. It turns out that the new editor somehow doesn't work properly in my computer, though I have been using the newest version of Firefox. For me, it was just a messy box with no toolbar icon or whatsoever, when it appears nice looking and user friendly to the rest of the world... so...I'm using the good old editor now...

Wednesday, December 16, 2009

Easy Banner Tutorial!

Momfetti is one of the creative ladies I turn to when I need an extra dose of inspiration intake in a day. She shares this really simple banner tutorial! How generous!

Ain't this a cute banner or what? But wait a minute..

Look closely...closer, closer...

..closer...
There!!! The banner is made from my reindeer tags!! Yaaay! She even thinks of not one but two extra purposes for the tags!! Give me more Yaaaaaaays! Curious? Head up to Momfetti now!

*update* Check out Fantastic Find's memory game using the tag! You'll play again and again!

Sunday, November 15, 2009

B is for..

..bunting and C is for crafting your own bunting. Who doesn't love bunting? They simply upgrade a nice humble room into party mode. Much like sequin dresses do to mothers, only better and way easy on the cost. Here's a tutorial for the simplest bunting for the simplest and most practical craft heads (like me). Enjoy.

Thanks to happythingsforkids.

Wednesday, September 30, 2009

Practical Gift Bow How-to


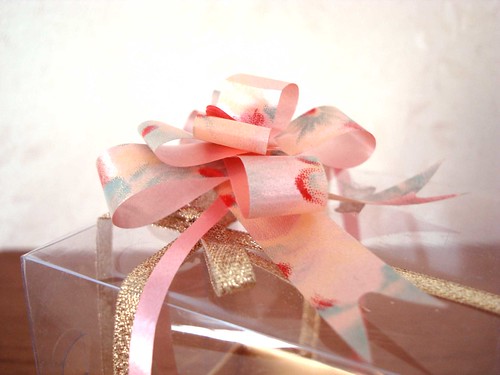
I always love everything practical, because I'm a last minute person. That means I never spend half an hour, or more, to decorate my gifts. But what's a gift of box without a bow, eh? For you lazy crafters, like me, here's a cheat sheet.

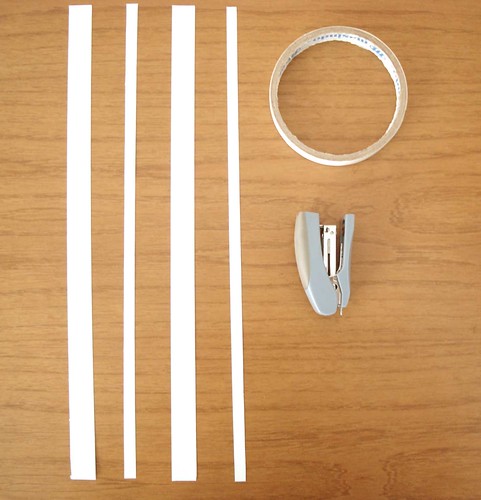
First of all, like all good recipe, we start from the ingredients. Measure your 0.5" (standard) ribbon for around 8", twice, so you have two of them. I am using a blank white paper for this tutorial for easy viewing, but any ribbon will do, as long as they are not to silky. Gift wrapping ribbon works best, and that also reminds me, any scrap gift wrapping papers would do just fine. Find a 0.25" ribbon, or measure your first ribbon/paper and cute them half vertically, and make two of 8" each. You'll have 2 big ribbons and 2 thinner ones. You will also need a double sided tape (or any glue) and an office stapler nearby.

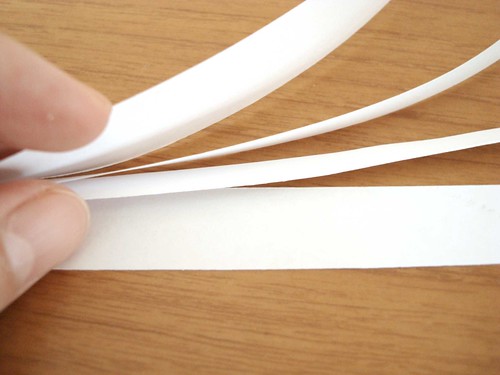
"Sandwich" the thinner ones among the big ones. Make sure they stay in the middle.

It's a good idea to make the snake's tongue end now. (this is optional)

Glue your ribbon sandwich at the top only (around 0.5" from the top), make sure all ribbons, thick and thin, are secured at the top.

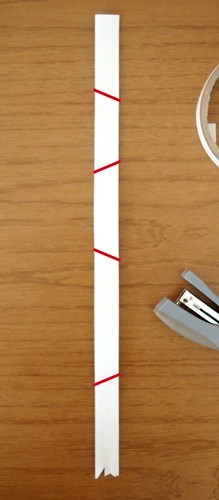
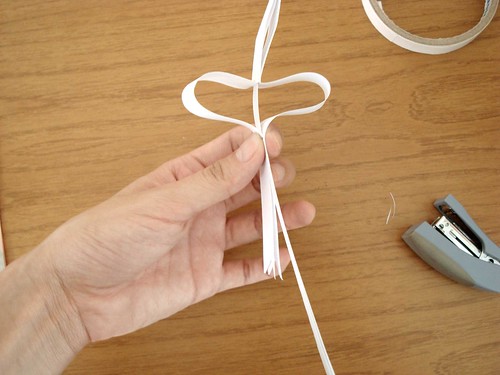
Now this is the tricky part, staple the thick ribbon together, at around the red part I'm showing here. No precise measurement necessary, just remember not to staple along the thin ribbons inside, make the two of them stay in the middle.

See the red lines? There's where your staples go.

Yep, stapled it diagonally, at around 45 degree, downward, upward, downward, upward. Once again, don't staple the thin ribbons inside (you'll know why soon)

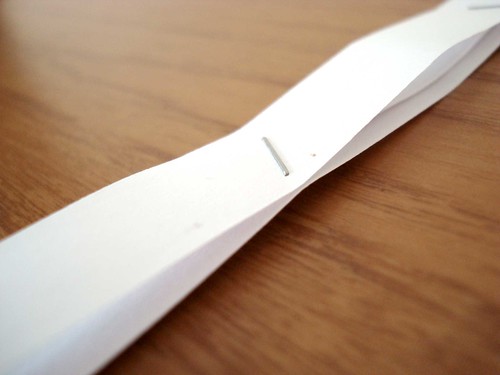
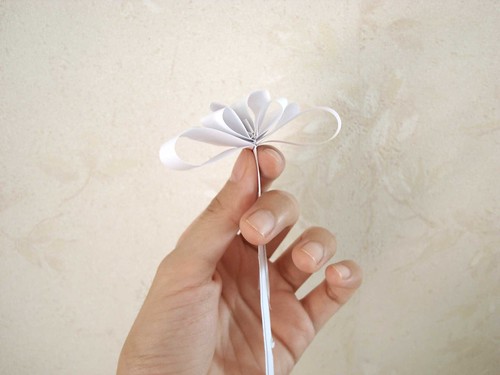
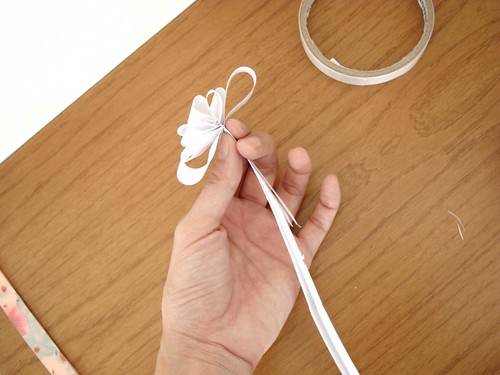
OK, now place your hand on the last staple, hold still, but not too tight, and pull down both thin ribbons with your other hands, automatically your staple will go upwards. See? Are you making the bump like shown here? Keep pulling.

Pull it until the top and you can't go no more. Voila. It's looking good, we're almost there.

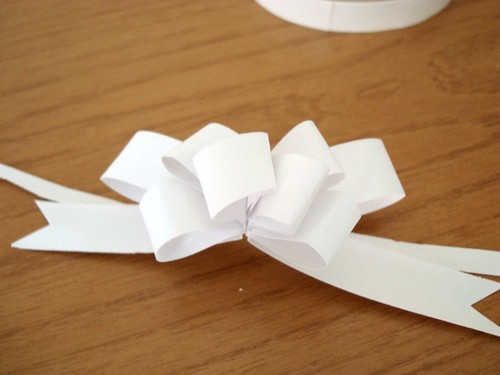
Spread the remaining thick ribbons and now you got yourself a bow. Easy, no?

What do you do with the thin ribbon, you ask? Well, tie it around your gifts, your daughter's head, or simply curl it (with the back of scissors). Hint: You can always alter the length of your bows according to your needs.

I keep a lot of un-pulled practical bows around my house. I mean I love putting an effort to decorate a gift but there's always the time when a 1 minute bow might be needed. I hope this is helpful.

Monday, April 20, 2009

Easy Stamps...

I love stamping. But I'm not a good carver. Dang. So, I make simple shapes out of my rubber eraser blocks, and play with them, a lot. I like easy and simple that can be used over and over again.

Like this one, it's a leaf shape, obviously, didn't take too much effort making all the details.

...on the contrary, when it comes to the stamping I like to make it loud. (yaaay... my hand's appearance!! Wish I manicured it before taking pictures though.)

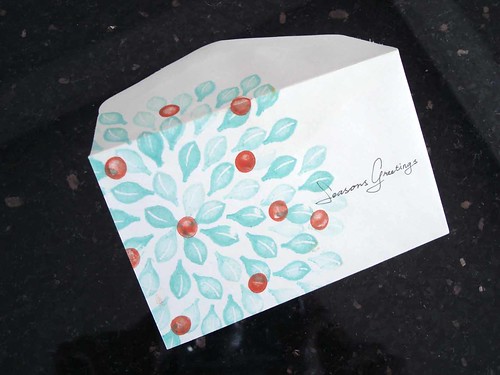
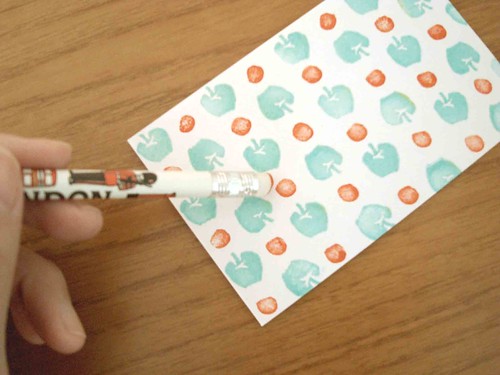
..perfect for Christmas, I think. The red dots? I use the back of eraser head attached to some pencils like I did here. Our next simple shape is..

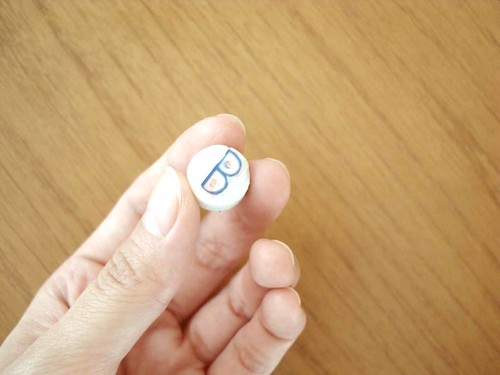
..a "B"? Sure it's simple, but why would I need a "B" if it's not my initial? ..or is it a reading glasses? Bucktooth? Two rock stumps? See.. the alternatives are endless, OK, they're not good-stamping material, that's not what I meant to do with the "B", by the way, here's what I did...

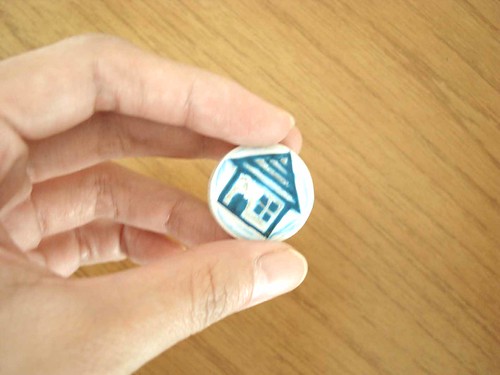
..scalloped border, anyone? I am such a sucker for pretty things. This stamp is perfect for prettifying any plain white surface, use it on envelopes, note cards, book corners, kitchen towels, you name the thing, you can stamp it.

See, stamping doesn't need too much carving talent, right? Or so I'd like to think to cheer myself up. Anyway, I carved this too but haven't put it to the test. Do you have any ideas?

Wednesday, March 18, 2009

Stamping Fun

I was in a desperate need of a decent envelope today, my husband's relative had been sending him lots of good things and he wanted to thank him with a proper thank you note in an envelope. Due to the relative's tradition, it's not polite to use a white blank, usual office envelope, so here's what I do in a very limited time. (It is effectively cheap and fast!)

I have a stack of self-carved eraser stamps, if you're like me, who unexpectedly always have to decorate something quickly, it might be a good idea to carve in your spare time and make 2 or 3 stamps as a start. If you want to carve your own eraser stamp, Geninne has a very good tutorial on how to start carving.

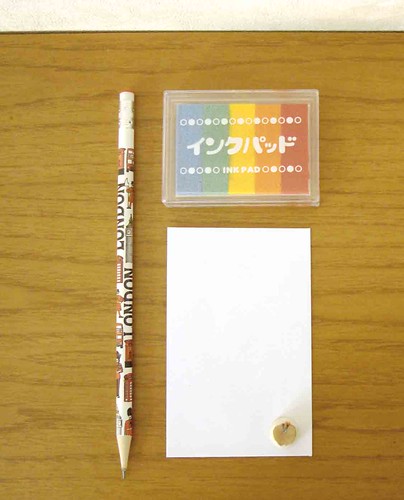
So here are my weapons of urgent envelope decorating.

What's a pencil doing up there? I used the eraser head to make red dots, not exactly a dot since I have used the head to erase earlier, but I like my non-dot.

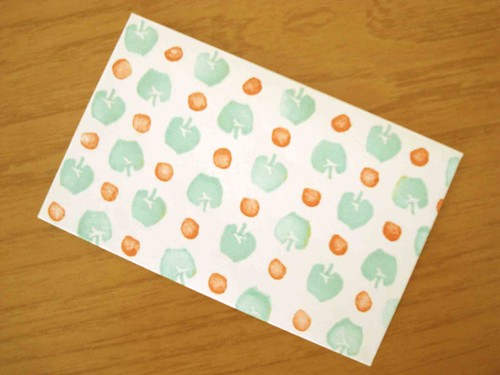
It's the final envelope. Quick and easy. It works well to spiceup a fabric (use a fabric ink pad), cards, book covers, envelope liners, etc..or in case you need a gift wrapper but you only have a blank brown piece of paper.

Blog Archive